
Homemade Chocolate Ice Cream: Indulge in Creamy Bliss!
Introduction to Homemade Chocolate Ice Cream
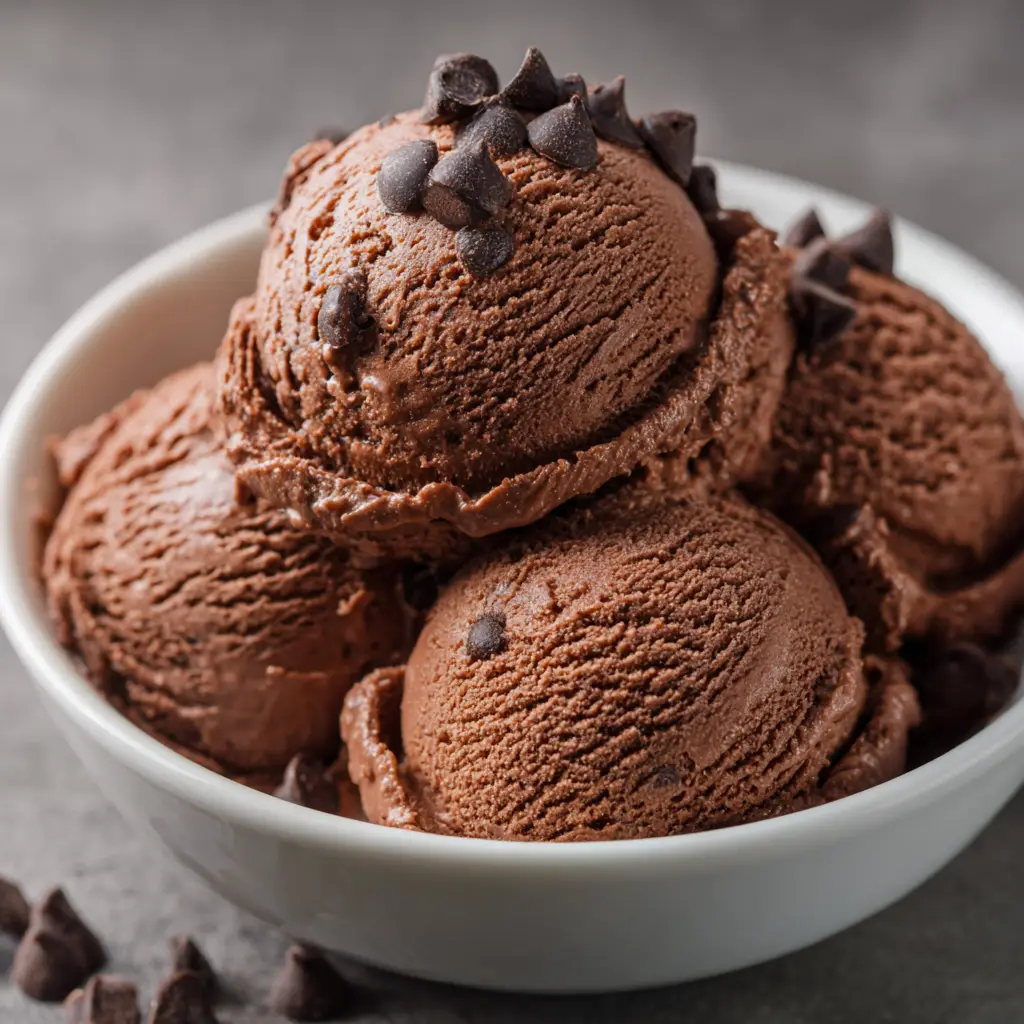
There’s something magical about a scoop of homemade chocolate ice cream that brings back sweet memories. As a busy mom, I know how hectic life can get, and sometimes, you just need a little indulgence to brighten your day. This homemade chocolate ice cream is not only a quick solution for those late-night cravings but also a delightful treat to impress your loved ones. With just a few simple ingredients, you can create a creamy bliss that will have everyone asking for seconds. Trust me, this recipe is a game-changer!
Why You’ll Love This Homemade Chocolate Ice Cream
This homemade chocolate ice cream is a dream come true for busy moms and professionals alike. It’s incredibly easy to whip up, taking just 15 minutes of prep time. The rich, velvety taste is simply irresistible, making it a perfect treat for any occasion. Plus, you can customize it to suit your family’s preferences. Whether it’s a hot summer day or a cozy night in, this ice cream is sure to bring smiles all around!
Ingredients for Homemade Chocolate Ice Cream
Gathering the right ingredients is the first step to creating your own homemade chocolate ice cream. Here’s what you’ll need:
- Heavy cream: This is the star of the show, giving your ice cream that rich, creamy texture we all love.
- Whole milk: It adds a smoothness that balances the richness of the cream, making every scoop delightful.
- Granulated sugar: Sweetness is key! It enhances the chocolate flavor and makes the ice cream irresistible.
- Unsweetened cocoa powder: This is where the chocolate magic happens. Choose a high-quality cocoa for a deeper flavor.
- Vanilla extract: A splash of vanilla elevates the overall taste, adding warmth and depth to your ice cream.
- Chocolate chips (optional): For those who crave a little extra chocolatey goodness, toss in some chocolate chips during churning.
Feel free to experiment with these ingredients! You can substitute heavy cream with half-and-half for a lighter version, or use almond milk for a dairy-free option. The exact measurements are at the bottom of the article, ready for you to print and keep handy!
How to Make Homemade Chocolate Ice Cream
Making homemade chocolate ice cream is a delightful adventure! Follow these simple steps, and you’ll be savoring creamy bliss in no time. Let’s dive in!
Step 1: Whisk the Base
Start by grabbing a mixing bowl. Pour in the heavy cream and whole milk. Then, add the granulated sugar, unsweetened cocoa powder, and vanilla extract. Whisk everything together until it’s well combined. You want a smooth, chocolatey mixture that looks like a dream! This step is crucial, as it sets the foundation for your creamy ice cream.
Step 2: Churn the Mixture
Now, it’s time to pour your luscious mixture into the ice cream maker. Follow the manufacturer’s instructions for churning. Typically, this takes about 20 to 30 minutes. As it churns, you’ll see it transform into a thick, creamy delight. The anticipation builds, and trust me, it’s worth the wait!
Step 3: Add Chocolate Chips
If you’re feeling extra indulgent, this is the moment to add chocolate chips! Toss them in during the last few minutes of churning. This way, they’ll be evenly distributed throughout your ice cream. Each scoop will be a delightful surprise of chocolatey goodness!
Step 4: Freeze the Ice Cream
Once churning is complete, transfer your homemade chocolate ice cream into an airtight container. Make sure it’s sealed tight to keep that creamy texture intact. Freeze it for at least 4 hours, or until it’s firm. This step is essential for achieving that perfect scoopable consistency.
Step 5: Serve and Enjoy
Finally, it’s time to scoop and serve your homemade chocolate ice cream! Use a warm ice cream scoop for easier serving. Dish it out into bowls or cones, and enjoy every creamy bite. You’ve created a delicious treat that’s sure to bring smiles all around!
Tips for Success
- Use high-quality cocoa powder for a richer chocolate flavor.
- Let the ice cream sit at room temperature for a few minutes before scooping. This makes serving easier!
- For a creamier texture, churn the mixture until it’s thick but not overly frozen.
- Store leftovers in an airtight container to maintain freshness.
- Experiment with mix-ins like nuts or fruit for a fun twist!
Equipment Needed
- Ice Cream Maker: Essential for churning. If you don’t have one, a sturdy blender can work in a pinch.
- Mixing Bowl: A large bowl for whisking your ingredients together.
- Whisk: A hand whisk or electric mixer will do the trick.
- Airtight Container: For storing your ice cream. Any freezer-safe container will suffice.
Variations of Homemade Chocolate Ice Cream
- Mint Chocolate Chip: Add a few drops of peppermint extract and fold in chocolate chips for a refreshing twist.
- Peanut Butter Swirl: Drizzle in creamy peanut butter during the last few minutes of churning for a nutty flavor explosion.
- Vegan Option: Substitute heavy cream and whole milk with coconut cream and almond milk for a dairy-free delight.
- Spicy Chocolate: Add a pinch of cayenne pepper or cinnamon for a warm, spicy kick that complements the chocolate.
- Chocolate Hazelnut: Mix in crushed hazelnuts or a swirl of hazelnut spread for a decadent treat.
Serving Suggestions for Homemade Chocolate Ice Cream
- Pair with warm brownies for a delightful contrast of temperatures.
- Top with fresh berries for a burst of color and flavor.
- Drizzle with chocolate or caramel sauce for extra indulgence.
- Serve in waffle cones for a fun, crunchy experience.
- Enjoy with a glass of cold milk or a rich espresso for a perfect treat!
FAQs about Homemade Chocolate Ice Cream
As you embark on your homemade chocolate ice cream journey, you might have a few questions. Here are some common queries I’ve encountered, along with helpful answers to guide you along the way!
Can I make homemade chocolate ice cream without an ice cream maker?
Absolutely! If you don’t have an ice cream maker, pour the mixture into a shallow dish. Stir it every 30 minutes for about 3-4 hours until it reaches a creamy consistency. It’s a bit more hands-on, but the results are still delicious!
How long does homemade chocolate ice cream last in the freezer?
Your homemade chocolate ice cream can last up to 2 weeks in the freezer. Just make sure it’s stored in an airtight container to keep it fresh and creamy!
Can I use low-fat milk instead of whole milk?
While you can use low-fat milk, it may affect the creaminess of your ice cream. For the best texture, I recommend sticking with whole milk or even experimenting with half-and-half for a richer flavor.
What can I do if my ice cream is too hard to scoop?
If your homemade chocolate ice cream is too hard, let it sit at room temperature for a few minutes before scooping. This will soften it up just enough for easy serving!
Can I add other flavors to my chocolate ice cream?
Definitely! Feel free to mix in flavors like mint, peanut butter, or even coffee. Just remember to add them during the last few minutes of churning for the best results!
Final Thoughts
Creating homemade chocolate ice cream is more than just a recipe; it’s an experience filled with joy and nostalgia. Each scoop brings back memories of summer days and family gatherings, making it a perfect treat for any occasion. The rich, creamy texture and delightful chocolate flavor are sure to impress your loved ones. Plus, the satisfaction of making it from scratch is unbeatable! So, gather your ingredients, unleash your inner chef, and indulge in this creamy bliss. Trust me, you’ll be savoring every moment and creating sweet memories along the way!
Print
Homemade Chocolate Ice Cream: Indulge in Creamy Bliss!
- Total Time: 4 hours 15 minutes
- Yield: 1.5 quarts 1x
- Diet: Vegetarian
Description
A rich and creamy homemade chocolate ice cream that is perfect for satisfying your sweet tooth.
Ingredients
- 2 cups heavy cream
- 1 cup whole milk
- 3/4 cup granulated sugar
- 1/2 cup unsweetened cocoa powder
- 1 teaspoon vanilla extract
- 1/2 cup chocolate chips (optional)
Instructions
- In a mixing bowl, whisk together the heavy cream, whole milk, sugar, cocoa powder, and vanilla extract until well combined.
- Pour the mixture into an ice cream maker and churn according to the manufacturer’s instructions.
- If using, add chocolate chips during the last few minutes of churning.
- Transfer the ice cream to an airtight container and freeze for at least 4 hours or until firm.
- Scoop and serve the homemade chocolate ice cream, enjoying the creamy bliss!
Notes
- For a richer chocolate flavor, use high-quality cocoa powder.
- Let the ice cream sit at room temperature for a few minutes before scooping for easier serving.
- Store any leftovers in the freezer for up to 2 weeks.
- Prep Time: 15 minutes
- Cook Time: 0 minutes
- Category: Dessert
- Method: Ice Cream Maker
- Cuisine: American
Nutrition
- Serving Size: 1/2 cup
- Calories: 250
- Sugar: 20g
- Sodium: 50mg
- Fat: 15g
- Saturated Fat: 9g
- Unsaturated Fat: 6g
- Trans Fat: 0g
- Carbohydrates: 30g
- Fiber: 2g
- Protein: 3g
- Cholesterol: 60mg
Keywords: Homemade Chocolate Ice Cream, Chocolate Ice Cream Recipe, Creamy Ice Cream