
Chocolate Cherry Cream Pie: A Sweet Delight Awaits!
Introduction to Chocolate Cherry Cream Pie
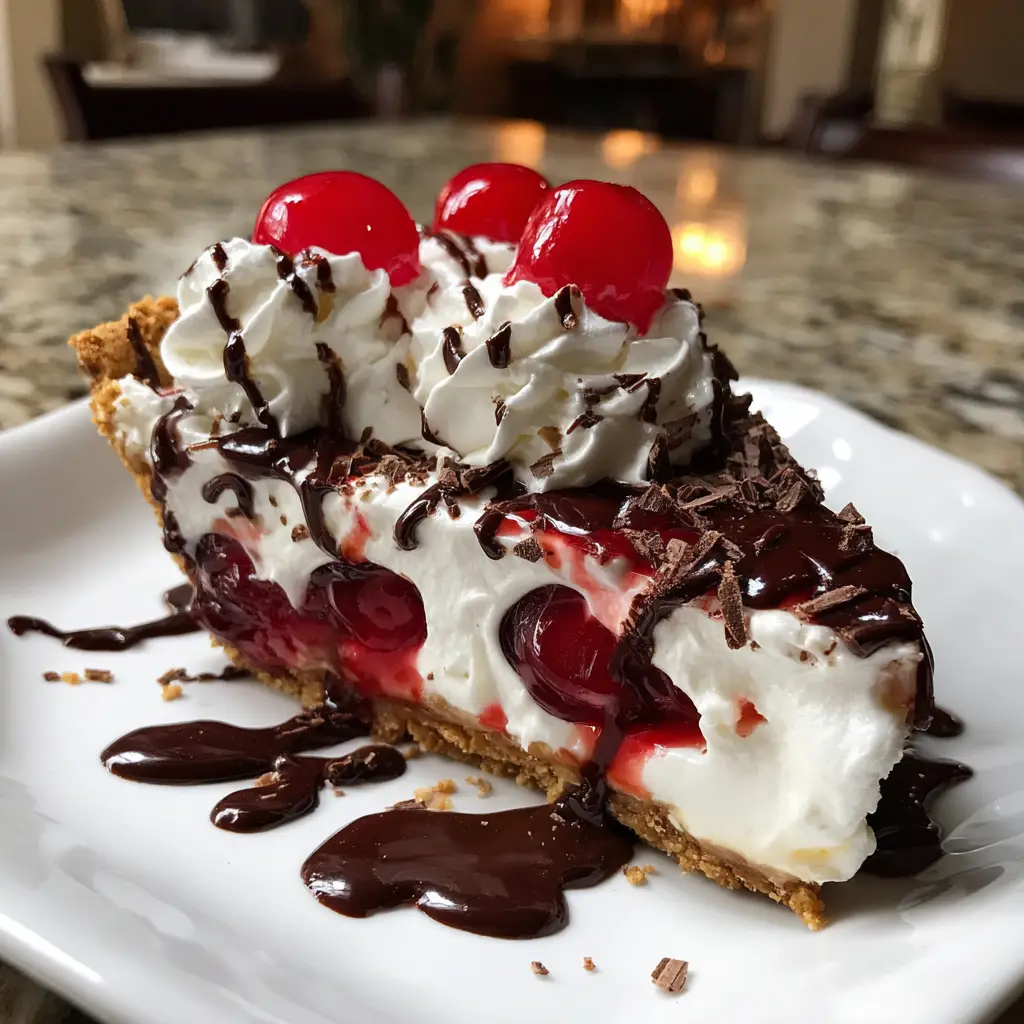
As a busy mom, I know how precious time can be, especially when it comes to whipping up something sweet. That’s why I adore this Chocolate Cherry Cream Pie! It’s a delightful dessert that combines rich chocolate with tart cherries, creating a symphony of flavors that will impress your loved ones. Plus, it’s a no-bake recipe, making it a quick solution for those hectic days. Whether you’re celebrating a special occasion or just treating yourself, this pie is sure to bring smiles and satisfaction to your table.
Why You’ll Love This Chocolate Cherry Cream Pie
This Chocolate Cherry Cream Pie is a dream come true for busy moms and professionals alike. It’s incredibly easy to make, requiring no baking at all! In just 20 minutes of prep, you can create a dessert that tastes like it came from a gourmet bakery. The combination of creamy chocolate and tart cherries is simply irresistible, making it a crowd-pleaser for any gathering or a sweet treat for yourself after a long day.
Ingredients for Chocolate Cherry Cream Pie
Gathering the right ingredients is the first step to creating this delightful Chocolate Cherry Cream Pie. Here’s what you’ll need:
- Pre-made chocolate pie crust: This saves time and adds a rich chocolate flavor. You can find it in the baking aisle or make your own if you’re feeling adventurous.
- Heavy cream: This is the star of the whipped topping. It adds a luscious texture and richness. Make sure it’s cold for the best results!
- Powdered sugar: This sweetens the whipped cream and gives it a smooth finish. You can adjust the amount based on your sweetness preference.
- Vanilla extract: A splash of this adds depth to the cream. Opt for pure vanilla for a more robust flavor.
- Dark chocolate chips: These create the rich chocolate filling. You can use semi-sweet or even milk chocolate if you prefer a sweeter taste.
- Cherry pie filling: This tart topping balances the sweetness of the chocolate. You can use store-bought or make your own if you have fresh cherries on hand.
For those who want to experiment, consider adding a pinch of sea salt to enhance the chocolate flavor or a splash of almond extract for a unique twist. The exact quantities for each ingredient are listed at the bottom of the article, ready for printing!
How to Make Chocolate Cherry Cream Pie
Now that you have all your ingredients ready, let’s dive into the fun part—making this Chocolate Cherry Cream Pie! Follow these simple steps, and you’ll have a stunning dessert that’s sure to impress.
Step 1: Melt the Chocolate
Start by placing the dark chocolate chips in a medium saucepan over low heat. Stir gently as the chocolate begins to melt. It’s crucial to keep the heat low to avoid burning the chocolate. If you notice it starting to clump, remove it from the heat and keep stirring until smooth. Trust me, burnt chocolate is a heartbreaker!
Step 2: Whip the Cream
In a separate bowl, pour in the heavy cream, powdered sugar, and vanilla extract. Using a hand mixer or stand mixer, whip the mixture until soft peaks form. Make sure your bowl and beaters are cold for the best results. This little trick helps the cream whip up beautifully and hold its shape!
Step 3: Combine Chocolate and Cream
Now, it’s time to bring the chocolate and cream together. Gently fold the melted chocolate into the whipped cream using a spatula. Be careful not to overmix; you want to keep that light, airy texture. Think of it as a dance—slow and gentle, so the cream doesn’t lose its fluffiness!
Step 4: Fill the Pie Crust
Pour the luscious chocolate mixture into your pre-made chocolate pie crust. Use a spatula to spread it evenly, smoothing the top for a polished look. This is where the magic happens, and you can already imagine how delicious it will be!
Step 5: Chill the Pie
Once filled, it’s time to chill! Place the pie in the refrigerator for at least 2 hours. This step is essential for the pie to set properly. Plus, chilling enhances the flavors, making each bite even more delightful. Patience is key here, but I promise it’s worth the wait!
Step 6: Top with Cherry Filling
Finally, when the pie is set, it’s time for the cherry topping! Spoon the cherry pie filling over the chocolate layer just before serving. For a beautiful presentation, you can arrange the cherries in a circular pattern. A sprinkle of chocolate shavings or a dollop of whipped cream on top adds a lovely finishing touch!
Tips for Success
- Always use cold equipment when whipping cream for the best volume.
- For a smoother chocolate filling, melt the chocolate slowly and stir continuously.
- Chill the pie overnight for an even firmer texture and enhanced flavors.
- Feel free to customize the cherry topping with fresh cherries or a drizzle of chocolate sauce.
- Keep leftovers covered in the fridge for up to three days—if it lasts that long!
Equipment Needed
- Medium saucepan: For melting chocolate. A double boiler works too if you have one.
- Mixing bowls: Use any size, but a large bowl is best for whipping cream.
- Hand mixer or stand mixer: Essential for whipping cream. A whisk can work, but it’s more labor-intensive.
- Spatula: Perfect for folding and spreading the chocolate mixture.
- Refrigerator: To chill the pie and let those flavors meld beautifully!
Variations
- Nutty Delight: Add crushed nuts like walnuts or pecans to the chocolate filling for a delightful crunch.
- Mint Chocolate: Incorporate a few drops of peppermint extract into the chocolate mixture for a refreshing twist.
- Vegan Option: Substitute heavy cream with coconut cream and use dairy-free chocolate chips for a vegan-friendly dessert.
- Fruit Fusion: Swap out the cherry pie filling for other fruits like raspberries or strawberries for a different flavor profile.
- Cheesecake Layer: Add a layer of cream cheese mixed with powdered sugar and vanilla before the chocolate layer for a cheesecake twist.
Serving Suggestions
- Pair with a scoop of vanilla ice cream for a delightful contrast.
- Serve alongside fresh berries for a pop of color and freshness.
- Drizzle with chocolate sauce for an extra indulgent touch.
- Enjoy with a cup of coffee or tea to balance the sweetness.
- Garnish with mint leaves for a refreshing presentation.
FAQs about Chocolate Cherry Cream Pie
Can I make Chocolate Cherry Cream Pie ahead of time?
Absolutely! This pie is perfect for making ahead. Just prepare it a day in advance and let it chill overnight. The flavors will meld beautifully, making it even more delicious!
What can I use instead of heavy cream?
If you’re looking for a lighter option, you can use whipped topping or coconut cream for a dairy-free alternative. Just keep in mind that the texture may vary slightly.
How do I store leftovers?
Store any leftovers in an airtight container in the refrigerator. It should stay fresh for up to three days, but I doubt it will last that long!
Can I use fresh cherries instead of cherry pie filling?
Yes! Fresh cherries can be a delightful substitute. Just pit and slice them, then toss them with a bit of sugar to enhance their sweetness before topping the pie.
Is this Chocolate Cherry Cream Pie suitable for special diets?
This pie can be adapted for various diets. Use dairy-free chocolate chips and coconut cream for a vegan version, or swap the crust for a gluten-free option to cater to dietary needs.
Final Thoughts
Creating this Chocolate Cherry Cream Pie is more than just making a dessert; it’s about bringing joy to your table. The rich chocolate filling paired with the tart cherry topping creates a delightful balance that’s hard to resist. Whether you’re celebrating a special occasion or simply treating yourself after a long day, this pie is sure to bring smiles all around. Plus, the no-bake aspect means you can whip it up in no time, leaving you with more moments to enjoy with your loved ones. Trust me, this pie will become a cherished favorite in your home!
Print
Chocolate Cherry Cream Pie: A Sweet Delight Awaits!
- Total Time: 2 hours 20 minutes
- Yield: 8 servings 1x
- Diet: Vegetarian
Description
A delicious and indulgent dessert featuring a rich chocolate filling, tart cherry topping, and a creamy whipped topping, perfect for any occasion.
Ingredients
- 1 pre-made chocolate pie crust
- 1 cup heavy cream
- 1/2 cup powdered sugar
- 1 teaspoon vanilla extract
- 1 cup dark chocolate chips
- 1 cup cherry pie filling
Instructions
- In a medium saucepan, melt the dark chocolate chips over low heat, stirring until smooth.
- In a separate bowl, whip the heavy cream, powdered sugar, and vanilla extract until soft peaks form.
- Fold the melted chocolate into the whipped cream until well combined.
- Pour the chocolate mixture into the pre-made chocolate pie crust and spread evenly.
- Refrigerate for at least 2 hours to set.
- Once set, top with cherry pie filling before serving.
Notes
- For a richer flavor, use semi-sweet chocolate chips.
- Make sure to chill the pie for the recommended time for best results.
- Garnish with additional whipped cream and chocolate shavings if desired.
- Prep Time: 20 minutes
- Cook Time: 0 minutes
- Category: Dessert
- Method: No-bake
- Cuisine: American
Nutrition
- Serving Size: 1 slice
- Calories: 350
- Sugar: 25g
- Sodium: 150mg
- Fat: 22g
- Saturated Fat: 12g
- Unsaturated Fat: 8g
- Trans Fat: 0g
- Carbohydrates: 35g
- Fiber: 2g
- Protein: 4g
- Cholesterol: 50mg
Keywords: Chocolate Cherry Cream Pie, dessert, no-bake pie, chocolate pie, cherry pie